Sunday, September 5, 2010

The Return of Pacific Thyme (and Roasted Garbanzo Beans)

Wow, it has been a while since the last post on Pacific Thyme.  So long, in fact, that my browser doesn't auto-complete the address when I start to type it.... sad days.  I have had several people ask me lately if this blog was totally dead, enough people where I thought, geez, I really need to do a post if I actually want to keep this up!  So here we are.  This is Labor Day weekend, I have moved into a new apartment (with a kitchen I love to cook in!) and I am spending this Sunday evening getting a little carried away :)

What does that mean, exactly?  Well, it means that I am making several things that have been on my "make this asap!" list, and asap turned into....never.  These things include Garlic Knot Dinner Rolls, Banana 'Ice Cream', chocolate chip cookies (...because I have all necessary ingredients and am on a roll, ok?) and the thing I am most excited about: Roasted Garbanzo Beans!

I don't know if I mentioned this before, but garbanzo beans are, hands down, one of my favorite foods.  I tried a recipe for roasted garbanzo beans once before, but the recipe called for dried beans soaked overnight in water, then roasting them, but that was a lot of pre-planning (which I rarely do when I cook) so I wasn't keen on making that dish over and over again. But then I found this recipe, using canned garbanzo beans (which I ALWAYS have on hand), and knew I had to try it.  And it was so unbelievably simple, I can't make any excuses _not_ to share it with you.  If you have a can of garbanzo beans, some olive oil, salt and spices, then you are 45 minutes away from a very tasty and addicting snack :)

Roasted Garbanzo Beans
from Steamy Kitchen

Ingredients:
  • 1 Can of Garbanzo Beans
  • A drizzle of olive oil
  • Salt
  • Spice of your choice (I used chili powder)
Directions:
1. Preheat the oven to 400 deg F.
2. Empty the can of garbanzo beans into a colander and rinse them.


3. Pour the beans onto a baking sheet lined with a paper towel.  With another paper towel on top, gently rub with circular motions to dry the beans and remove any skins.


4. Once the beans are dry, remove the paper towels and drizzle a small amount of olive oil over them, and spread it around so that they are evenly coated.
5. Bake in the oven for 30-40 minutes, until golden brown and crispy.


6. Sprinkle salt and spice(s) on the beans
Enjoy!

    Wednesday, April 21, 2010

    Ham Risotto with Sugar Snap Peas


    Hi everyone. My name is Tony and I've been cooking with Erin now for a few years. When Erin told me she had a food blog I was immediately interested in helping out. Cooking has been something I've enjoyed doing for years and I'm always looking to improve and expand my repertoire. Hopefully, spurred by the nagging sense that I should be writing a post, I'll be able to share some of my favorite dishes as well as try out some new ones!

    One dish that I've always liked but never made is risotto. Risotto is known for being a little needy when it comes to cooking because you need to stand at the stove and stir it constantly while you slowly add the liquid in small quantities. But whatever it lacks in terms of attention required at the stove, it makes up for in adaptability of ingredients. This dish will take almost anything you have in your fridge. A leftover mushroom side dish from earlier in the week? Throw it in. Some leftover sausage that didn't get entirely used in a meal? Throw it in. You want meat in it? Add meat. Want it veggie? Use peas or artichokes or asparagus (or all three!).

    Knowing we'd have leftover ham from Easter dinner this year, I got the idea to make this ham risotto I had been wanting to try. The recipe calls for just 3 ounces of diced ham, but I used what I had leftover which was more than 3 ounces. You can use as much or as little ham as you have or want to add. With prep plus cooking time coming in at around an hour, this is definitely something that's doable on a weekday night after work (which is what I did).

    This leek is relatively clean, but they can be pretty dirty.

    Leeks can be a little annoying to prepare as the layers oftentimes have a lot of dirt in them. The way I clean them is by slicing them lengthwise almost all the way through to the bottom. Open the leek up almost like a book and run it under cold water as you get out any dirt. Dry it, and then chop it however the recipe calls for. I'm not sure if this is the best way to clean them, but it works. (If you know of a better way, let me know in the comments!)


    This risotto will give you a bit of an arm workout as you stir it constantly, but the results are well worth the effort! If you prefer, you can substitute the peas in this recipe with an equal amount of asparagus and it will work just as well.


    Ham Risotto with Sugar Snap Peas
    From Cooking Light
    Serves 4
    • 4 cups fat-free, less-sodium chicken broth
    • 8 ounces sugar snap peas, trimmed and cut into 1-inch pieces
    • 2 teaspoons olive oil
    • 1 1/2 cups thinly sliced leek (about 2 medium leeks)
    • 2 garlic cloves, minced
    • 1 cup uncooked Arborio rice
    • 1/2 cup dry white wine
    • 3 ounces diced cooked ham (about 3/4 cup)
    • 1/2 cup freshly grated Parmesan cheese
    • 1/8 teaspoon black pepper
    1. Bring broth to a simmer in a medium saucepan (do not boil). Keep warm. (I'm sure you could microwave this too)
    2. Cook peas in boiling water 2 minutes or until crisp-tender. Drain and rinse with cold water to stop the cooking process; drain.
    3. Heat oil in a large saucepan over medium heat. Add leek to pan; cook 5 minutes or until tender, stirring frequently. Add garlic; cook 30 seconds. Stir in rice; cook 1 minute. Add wine; cook 2 minutes or until liquid is nearly absorbed, stirring constantly. Add broth, 1/2 cup at a time, stirring constantly until each portion of broth is absorbed before adding the next (about 20-30 minutes total). Add ham to pan; cook 3 minutes or until thoroughly heated. Stir in peas, cheese, and pepper.

    Monday, April 12, 2010

    Japanese Goodness

    My recent hiatus from Pacific Thyme actually has a good excuse - I just got back from 10 days in Japan!  Can I tell you how much I love Japanese food?  Everything was SO delicious!  Here is a glimpse of the goodness that I experienced:

    First, I had the best and freshest sushi ever at Tsukiji Fish Market in Tokyo.  The fish was literally in the water a few hours prior to being in my tummy :)


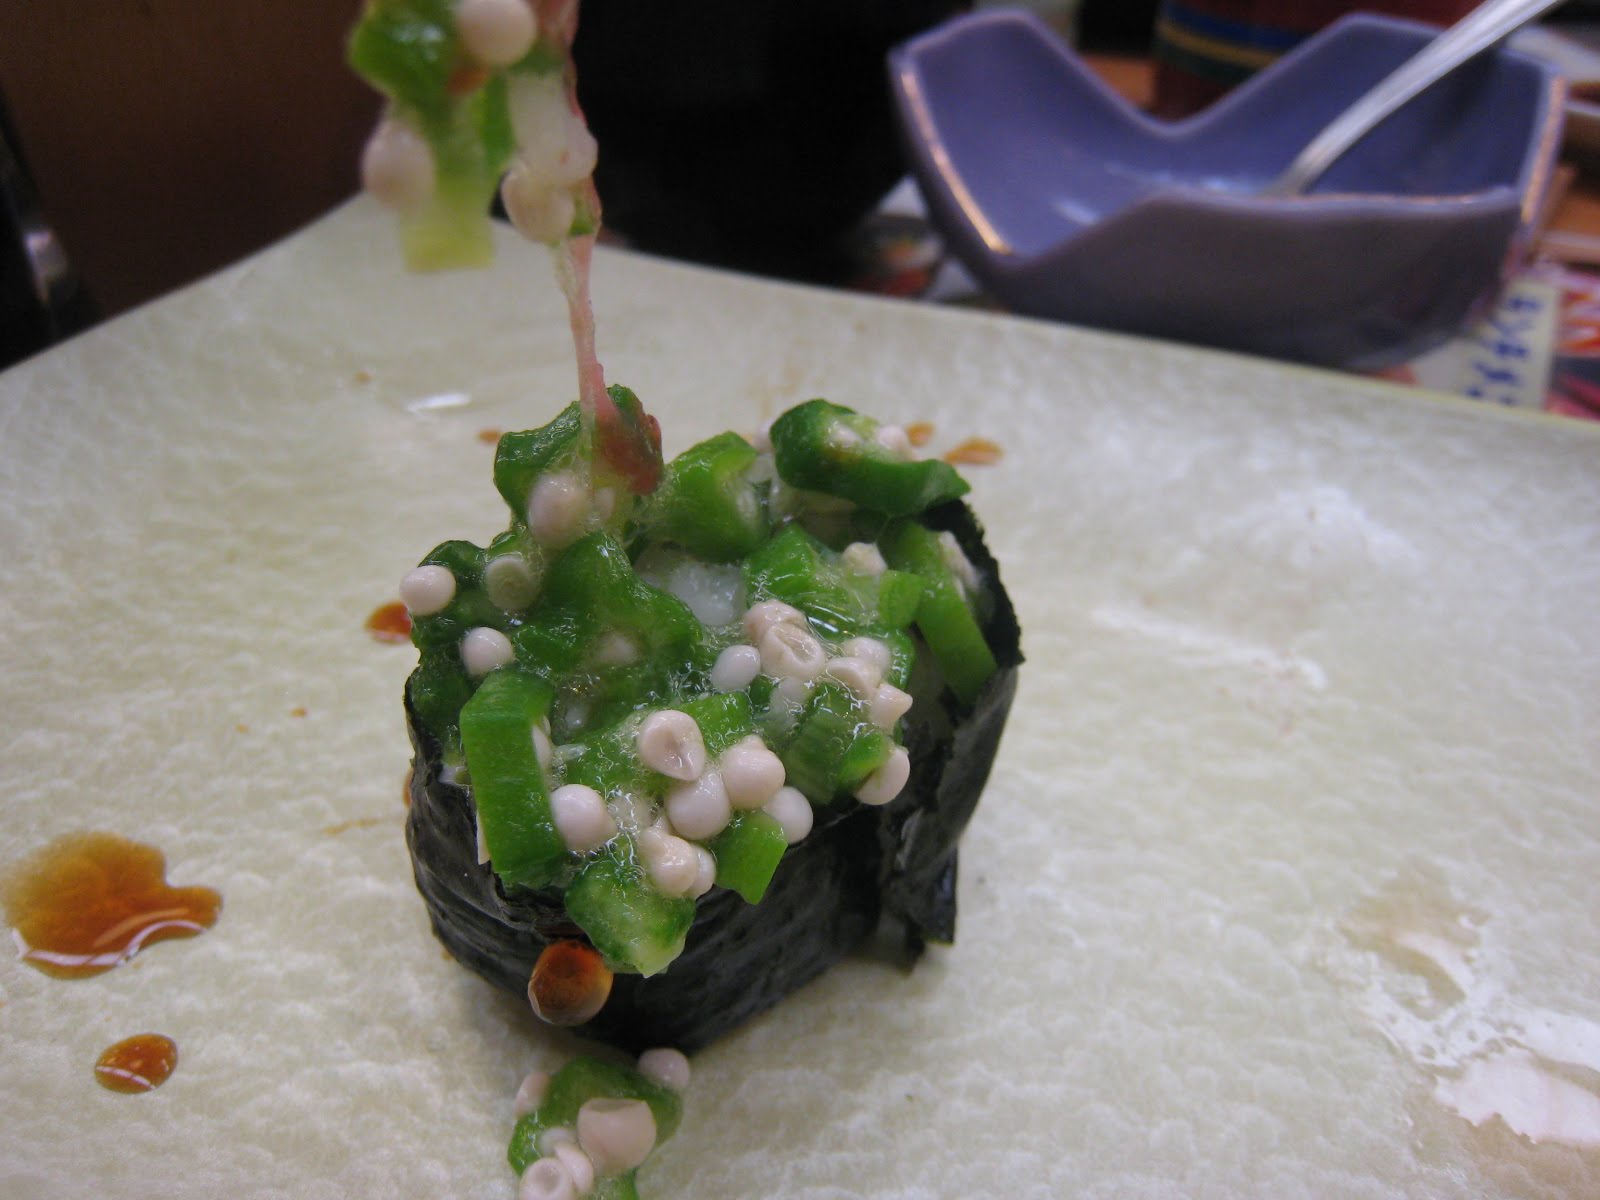
    We ate all of the sushi except for this one: it was super goopy and nasty.

    Here are some pictures from the fish market -- baby octopus, yummy ;)

    Eel swimming in their own blood?  Ewwww

    More octopus tentacles...mmm

    In the Kansai region (Nara/Kyoto), a favorite local food is Okonomiyaki.  It's an egg pancake with toppings. This is egg stuffed with noodles and beef, with ketchup and mayonnaise spread on top.  SO GOOD!

    Traditional okonomiyaki: we ate beef (gyu) and octopus (tako) as toppings for the pancakes.  And of course, lots of ketchup and mayonnaise.

    McDonalds in Japan has a dollar (or 100 yen) menu.  One of the delicious items is Shaka Shaka Chicken.  To put it simply, it's a breaded chicken breast in a bag, and you add a flavor packet to the bag (either cheese, black pepper, or lemon), close the bag, shaka shaka, then enjoy your flavor-coated chicken!


    One day in Ueno Park, we decided to try some of the street fare: Octopus Balls...but beware...these balls of batter and tentacles were nasty.  It was probably because the batter was not cooked through, but they had such a goopy texture that they were hard to pick up and hard to eat!  The tentacles were good though, so those were picked out of the batter and eaten :)


    Here is some more street fare:  fish on a stick!

    If you know me, you know that I love pancakes.  So when I saw pancakes in a bag at the 7/11 in Tokyo, I had to get them!  Mmmm pancakes!

    RAMEN -- super delicious!  These are all of the toppings to put into my steamy bowl of broth and noodles.

    Ramen is so yummy!  I got soy sauce broth and all of the toppings :)

    And last but best by far: Kobe Beef.  For all of the money spent on this piece of meat, I can't even do it justice with a description.  Words do not express how amazing this beef is.  It melts in your mouth.  It makes you never want to eat another steak again.  Nothing can compare to how awesome this steak was.  Simply put, WOW!

    I also loved eating katsu, shaved ice, onigiri (well, when I got ones with fish that I like inside), ten-don, and yoshinoya!  Mmmmm such amazing food!

    On another note, Eunice, who was introduced through last post, and Tony, who has made an appearance on the blog before, will both be contributors to Pacific Thyme.  I am happy to have them aboard, and look forward to tales from their kitchens!
    Related Posts Plugin for WordPress, Blogger...