Oh hi there. It looks like it's been almost exactly 1 year since my last post... oops? I didn't mean to abandon my little corner of the internet, so let's pretend that I just hibernated for an exceedingly long winter and now I'm back :) I actually didn't come here with a recipe for you (yet), but instead to tell you about an awesome time I had tonight taking a chocolate-making class!
My mom and I got LivingSocial vouchers to go to a chocolate-making class taught by Clive at
The Xocolate Bar, in Albany, and oh man it was DELICIOUS! We learned how to temper chocolate, make fillings, use molds, and really work a bench scraper. I really wanted to post about it tonight because otherwise I'll forget all about it, and I don't want to forget about this deliciousness!
 |
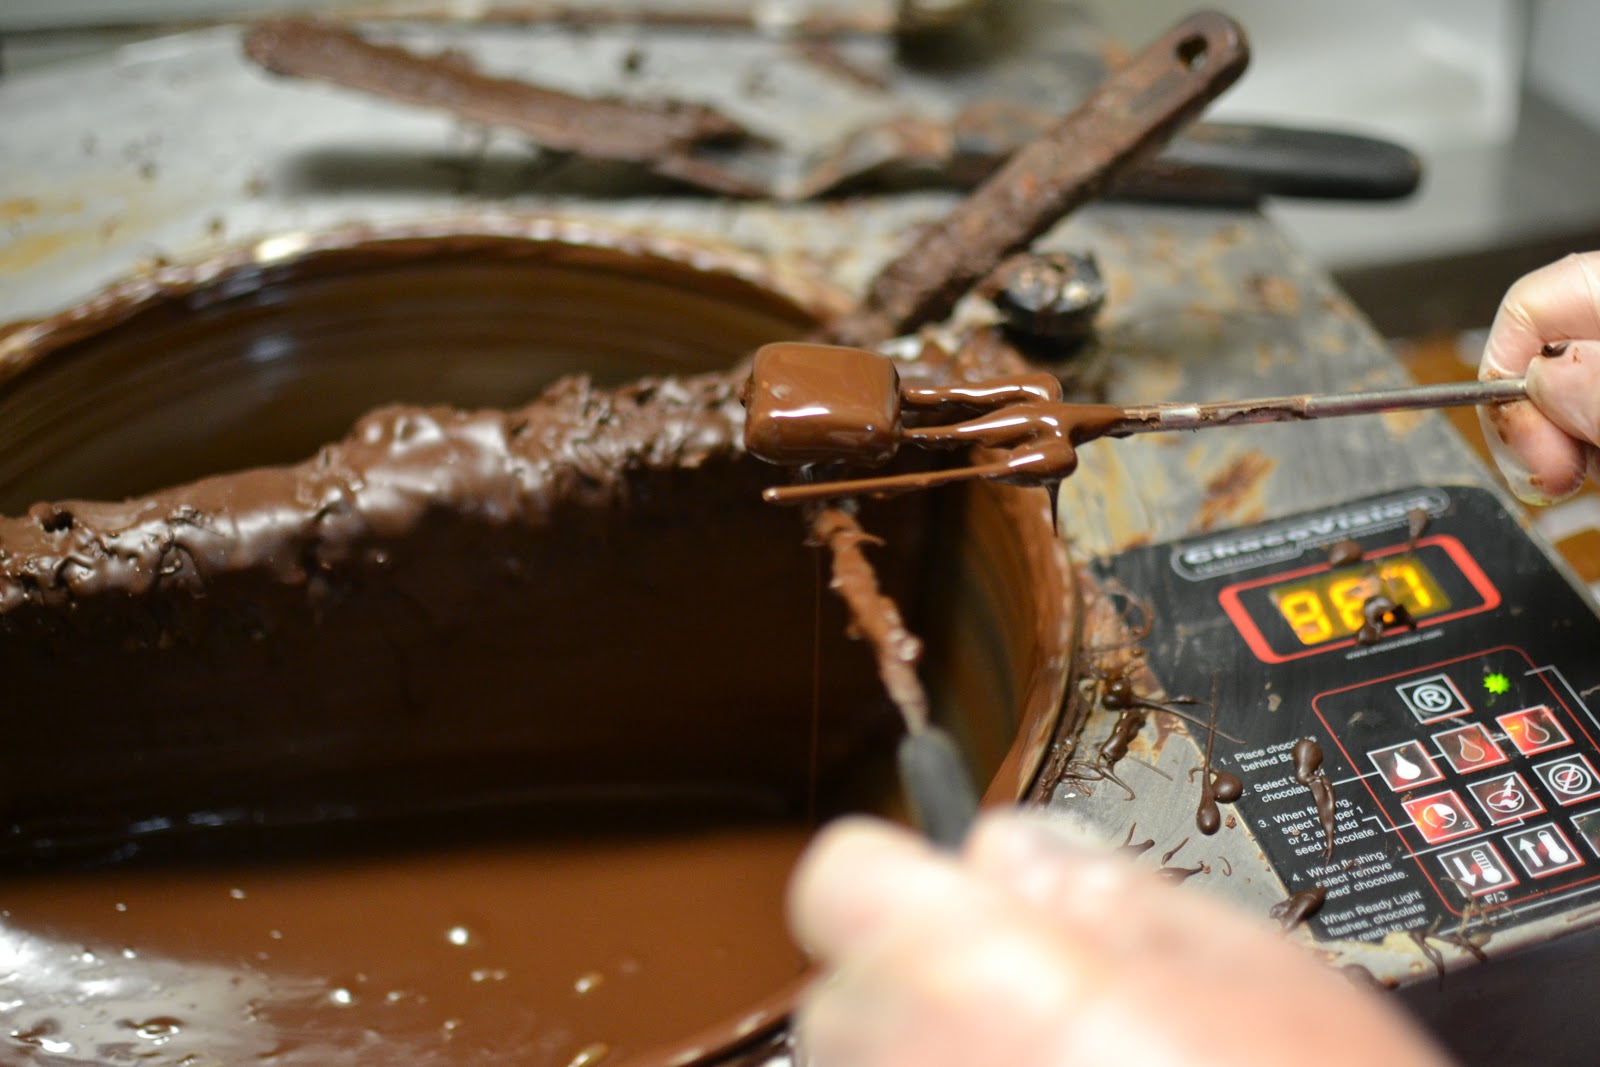
| Tempering machine... so neat! |
Above is the tempering machine. You put a bunch of chocolate in it, and it heats it up to about 120 degrees, and then you add some "seed" chocolate (or just more chocolate pieces) and it lowers the temperature to a controlled 87-90 degrees. Then it's tempered! Home chefs would do this using a double boiler (bain marie) and a candy thermometer, but it requires a lot more effort.
 |
| Mmm ganache fillings! |
We made several types of fillings: a salted chili (which was surprisingly delicious!!), a coffee cream, and a whiskey filling. The fillings are pictured above, and oooh it was hard not to just eat it straight from the bowl! But patience...we have bonbons to make!
 |
| Filling the molds |
We first took melted dark chocolate (about 68 percent) and poured it into the poly-carbonate bonbon molds. These molds are serious business... they are like badass ice cube trays (because you can fill them with chocolate and whiskey ) Then we let the molds sit for about 15 minutes until the chocolate hardened around the edges, but was still liquid in the middle. Then you dump out the middle, so that the chocolate is only on the edges, like so:
 |
| Chocolate cups - almost ready to be filled! |
Once the middle is dumped out, it's time to scrape off the excess from the mold, to have a nice clean surface. To do that, you take a bench scraper and give it a good scrape!
 |
| All scraped clean! |
 |
| Mom shows off her excellent bench scraping skills |
Now we're ready to fill the bonbons! Put your filling in a pastry bag, and pipe away! Into the bonbon shells...not your mouth! (I had to remind myself of this)
 |
| Piping in some whiskey ganache |
While we waited for the ganache to set in the fridge... we made THESE! Well, the caramels were pre-made by our teacher earlier in the day, but we got to dip them in chocolate!
 |
| Caramels ready to be dipped! |
We just dropped the caramels into the tempered chocolate, shook 'em off, and put them on a foil-lined cookie sheet.
 |
| Chocolate coated caramel...mmmmm |
After we put them on the cookie sheet, we sprinkled a generous pinch of good sea salt on top. Some of the caramels got fancy and had a cocoa butter transfer put on top. Those are pretty!
 |
| Caramels. Salted + Dressed up! |
After the chocolate filling had time to set in the fridge, it was time to take the bonbons out of their trays! We gave them a good smack onto some cutting boards, and bam! Delicious bonbons appeared!
 |
| Bonbons banged out of their molds! |
Here's a close up of the salted chili bonbons. These were GOOD!
 |
| Salted Chili bonbons |
And here is the smorgasbord of bonbons we made. I will try to name them all (clockwise from top left): Hazelnut (gianduja), milk and honey (these were shaped like boobies!), coffee cream, tamarind (these were shaped like buddha!), Aztec chili, salted chili, whiskey, and orange cream. Not pictured: coconut flake, and bali vanilla. Yes, we made a LOT of bonbons!!
 |
| Bonbon smorgasbord! |
Here are the coconut bonbons.
 |
| Coconut bonbons |
At the end, we dusted some of the bonbons with lustre dust, to make them fancy :) Here, the Aztec chili got a bit of shiny pink!
 |
| Aztec Chili bonbons |
And here, the tamarind buddhas get a dusting of gold!
 |
| Tamarind Buddha bonbons |
The class was so much fun! My only regret is that Clive (the chocolatier) gave us a very tiny box to fill up with chocolate to take home. So I ate as many as possible while we were there, and filled my box to capacity (luckily I had a rubber band to keep it closed!). Next time, I'm bringing tupperware ;) My favorite chocolates were the salted chili, and the chocolate-covered caramels. I totally recommend the class!