Monday, November 29, 2010

Martha Washington's Great Cake


Hello, there!  I'm Amanda, Erin's old ADX roomie.  I would like to share with you a lovely recipe for Martha Washington's Great Cake.

I currently live in Arlington, Virginia, which is only 10 miles away from Mount Vernon, the home of George Washington.  I recently went on a candlelit tour of Mount Vernon, and received a copy of Martha Washington's recipe for her Great Cake, which she traditionally served on Twelfth Night (January 6th, the last day of Christmas, or Epiphany).  Twelfth Night was also the Washingtons' wedding anniversary; they were married on January 6, 1759.  I was excited to try out an authentic 18th-century recipe, and I hope you will, too!

Martha's original recipe is a bit daunting, as copied down by Martha Parke Custis, the second of Mrs. Washington's four grandchildren:
Take 40 eggs divide the whites from the yolks & beat them to a froth then work 4 pounds of butter to a cream & put the whites of eggs to it a Spoon full at a time till it is well work'd then put 4 pounds of sugar finely powdered to it in the same manner then put in the Youlks [sic] of eggs & 5 pounds of flower [sic] and 5 pounds of fruit. 2 hours will bake it add to it half an ounce of mace and nutmeg half a pint of wine and some frensh [sic] brandy.
Needless to say, I possess neither pan nor oven (nor social callers) sufficient to bake a cake that calls for 40 eggs.  Thankfully, Mount Vernon provided a recipe adapted for the 21st century.

Martha Washington's Great Cake
adapted from Mount Vernon


Ingredients:

  • 10 eggs
  • 1 lb butter
  • 1 lb sugar
  • 1 1/4 lbs flour (20 ounces)
  • 1 1/4 lbs assorted fruit & nuts
  • 2 1/2 tsp ground mace
  • 2 1/2 tsp ground nutmeg
  • 2 oz wine (I used cooking sherry)
  • 2 oz French brandy (I used E&J VSOP)

The recipe recommends certain fruits and nuts based on what would have been available to Mrs. Washington.  I largely followed the recommendations, with the exception that I substituted dried cranberries for the suggested raisins, because I loathe raisins.

Fruit and nuts:

  • 5 oz of pear (peeled, cored, and diced) (I used two Cortland apples)
  • 9 1/2 oz of apple (peeled, cored, and diced) (I used one Bosc pear)
  • 3 1/2 oz of dried cranberries
  • 2 oz of sliced almonds

Directions:

1. Preheat the oven to 350 degrees.  Separate egg whites from yolks and set yolks aside.


2. Beat the egg whites to a "soft peak."


3. Cream the butter.


4. Slowly add the beaten egg whites, one spoonful at a time, to the butter.  (Note: Pretty much every step of this recipe should be done "slowly," as suggested.  I disobeyed the "spoonful at a time" instruction, and it was very difficult to coax the egg whites and the butter to interact.)


5. Slowly add the sugar, one spoonful at a time, to the egg whites and butter.

6. Add egg yolks.

7. Add flour, slowly.  (Note: I added a 1/4 cup at a time.)


8. Add fruit.


9. Add ground mace and nutmeg, wine, and brandy.
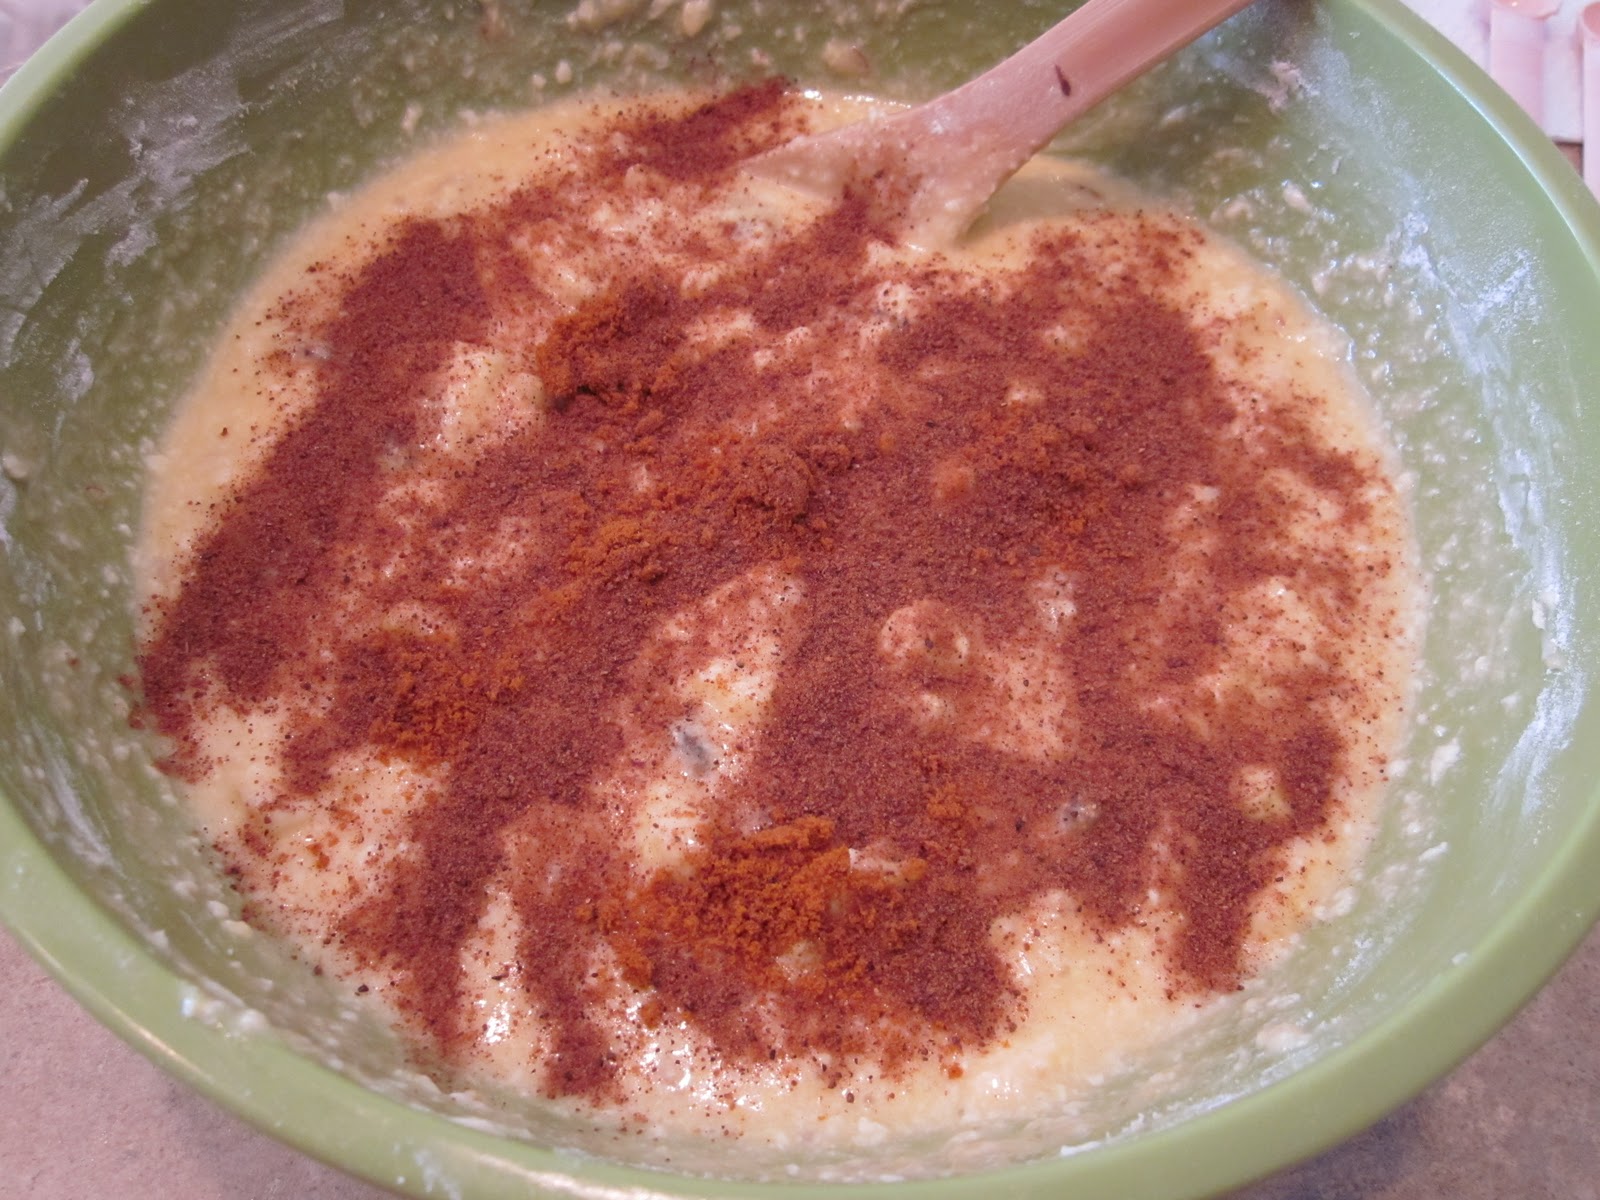

10. Lightly grease and flour a 10-inch spring-form cake pan.  (Note: I only had a 9-inch spring-form cake pan, so I set aside enough batter for six cupcakes, which worked out nicely.)

11. Pour batter into pan and bake about 75 minutes.


I had a bit of a complication at this point: my new spring-form pan leaked!  Imagine my dismay when I smelled burning, only three minutes into baking.  To remedy the leak, I wrapped the bottom of the pan in tin foil, and placed it on a baking sheet, which solved the problem.


12. Allow cake to cool after baking.  (Note: the cake was golden brown after 75 minutes, but seemed rather moist.  Don't worry--it will solidify as it cools.)


I baked the "Great Cupcakes" for about 30 minutes at 350 degrees.  To get them out of the pan, I ran a sharp knife around the edge, and then used a fork to pry them out.  Don't forget to grease and flour this pan, too!

18th-Century Icing
adapted from Mount Vernon


Ingredients:

  • 3 egg whites
  • 1 1/2 cups powdered sugar
  • 1 tsp lemon peel, grated
  • 2 tbsp orange-flower water (I used 1 tbsp orange extract)

1. Preheat oven to 200 degrees.  Beat three egg whites and 2 tbsp powdered sugar.  Repeat additions of sugar until you have used 1 1/2 cups of powdered sugar.

2. Add 1 tsp grated lemon peel and 1 tbsp orange extract.


3. Beat until the icing is stiff enough to stay parted when a knife cuts through it.  (Note: I don't think I ever reached this point, even after switching to the electric hand mixer.  Don't despair--it'll still work out if it's a bit soupy!)

4. Smooth it onto the cake.  (Note: my method for icing the side of the cake was to put a dollop of icing on the top edge, and then allow gravity to help me along as it slid down the side.)


5. Let it dry and harden in 200-degree oven for one hour.  (Note: icing will be brittle when cut with a knife.)


All told, this cake required a very lengthy process.  It is a good recipe for a Saturday afternoon at home.  I was intrigued by how the cake came out; my taste testers and I agreed that it was more like a delicious fruit cake than anything else.


My favorite part of this recipe was the frosting, which functions much like a meringue.  I want to try it on other baked goods!


-Amanda

Saturday, October 30, 2010

Caramel Corn


If not for Halloween, when would we eat things that are sweet and sticky and bound to rot our teeth?
When you make this caramel corn...the answer might just change to every day.


I hope this recipe finds you in time.  It's Saturday evening, and you're probably preparing the final touches on your costume and getting ready to go to a fun Halloween party, or host one of your own.  But it's still not technically Halloween, so you have one more day to make this AMAZING caramel corn...and make everyone around you very, very happy.

Luckily, you probably have all of the ingredients for this on hand already.  It takes almost no effort to prepare, and is an instant hit.  The unique thing about this recipe is that once you dump the caramel sauce all over your popcorn, you bake it in the oven for an hour.  Orangette says "In the oven, the caramel, which had started to harden as you stirred it into the popcorn, gets a chance to soften again. You can now stir it into the popcorn more easily and evenly. The whole, gooey mess will crisp spectacularly as it cools, and the kitchen will smell outrageous."

She wasn't kidding.  I couldn't even bring myself to let it bake for the full hour.  I made it to 20 minutes, did the first stir, and let it sit in the oven another 10 minutes before I couldn't bear how amazing my kitchen smelled, and how I had to have that caramel corn now. (I ate it right then and there...without allowing it to cool as recommended...and it was still INCREDIBLE).

Caramel Corn
adapted from Orangette

Orangette's recipe notes:
  • Be sure to have a whisk and a rubber spatula close at hand. You’ll need them both on short notice.
  • Before you begin cooking the caramel, measure out the baking soda and the vanilla, and set aside in small bowls. You won’t have time to do it later.
  • Do not try to make this recipe without a candy thermometer.
    Ingredients
    • 1 (3½-ounce) package plain (unbuttered natural flavor) microwave popcorn, or about 10 cups fresh popcorn popped by any method, lightly salted
    • 1 cup packed light brown sugar
    • ¼ cup light corn syrup
    • 6 Tbsp. unsalted butter, melted
    • ¼ tsp. salt
    • ½ tsp. baking soda
    • 2 tsp. vanilla extract
    Directions
    1. Preheat the oven to 250°F. Line a rimmed baking sheet with parchment paper.
    2. If using microwave popcorn, pop the popcorn according to the package instructions. Coat a large mixing bowl with nonstick cooking spray, and dump the popcorn into the bowl, taking care to pick out and discard any unpopped kernels.
    3. In a medium saucepan, whisk together the brown sugar, corn syrup, butter, salt, and 2 tablespoons of water. Bring to a simmer over medium-high heat.

    4. Continue to simmer, whisking often, until the mixture reads 250°F on a candy thermometer, about 3 to 4 minutes.
    5. Immediately remove the pan from the heat, and whisk in the baking soda and vanilla.
    6. Quickly pour the hot caramel over the popcorn. Use a rubber spatula to gently fold the caramel into the popcorn, taking care to distribute it as evenly as you can.
    7. Transfer the mixture to the prepared baking sheet. Bake for 1 hour, stirring and turning the popcorn with a spatula every 20 minutes. Remove from the oven, and place on a cooling rack for 20 minutes. Gently break up the popcorn, and serve.
    8. Store in an airtight container for up to 5 days (or thereabouts).

      Tuesday, October 19, 2010

      Halloween Sugar Cookies


      It's that time of year! Time for pumpkin recipes, fall soups and chilis, and of course, decorated sugar cookies!  This was my first time using this royal icing technique.  I've seen it everywhere: beautiful cookies with a beautiful matte sheen layer of icing, decorated in every possible color.  I was lazy and only wanted to use one color (ok, two if you count the normal white).  I followed Annie's tutorial on how to flood a cookie with royal icing, but basically, you take normal royal icing, pipe it along the edge of your cookie, then let it sit for about 30 minutes. Then take some of the icing, add a little bit of water to it, until it is thinner and runs off your spoon, and then "flood" the interior of the cookie, using a toothpick to help bring the icing to the edge.

      I made these cookies pretty late at night, so I didn't take any pictures of the process :(  But it's really easy to make a cool spiderweb design: before flooding the cookie, take some of the thinner icing and put it into another container.  Color it with black food coloring, and then proceed to flood the cookies with the white icing.  After flooding, while the icing is still wet, put some of the black icing into a pastry bag with a tip attached, and pipe a "target" onto the cookies (as shown in my horrible MS Paint drawing below).


      Then take a toothpick and drag lines from the center of the cookie, outwards, pulling the black circles into a spider web!  Let the icing harden overnight, and you will have beautiful spiderweb cookies!

      Sugar Cookies
      adapted from Annie's Eats

      Ingredients:
      • 1 cup butter
      • 1 cup powdered sugar
      • 1 egg, beaten
      • 1 ½ tsp vanilla
      • 1 tsp salt
      • 2 ½ cups flour
      Directions:
      Cream butter. Add powdered sugar. Blend in egg, vanilla, salt and flour. Chill dough until firm. Roll to ¼” thickness on well-floured surface. Cut with cookie cutters. Place on greased cookie sheets. Bake at 375° for 8-10 min. Cookies should not brown. Frost and decorate when cool. Yields ~24 cookies.

      Royal Icing
      from Alton Brown

      Ingredients
      • 3 egg whites
      • 1 tsp vanilla extract
      • 4 cups confectioners' sugar
      Directions

      In large bowl, mix the egg whites and vanilla with an electric mixer until frothy. Add confectioners' sugar gradually and mix on low speed until sugar is incorporated and mixture is shiny. Turn speed up to high and beat until mixture forms stiff, glossy peaks. This should take approximately 5 to 7 minutes.  Color if desired, and transfer to piping bags for use.


      -Erin
      Related Posts Plugin for WordPress, Blogger...