This past weekend was showtime for two of the
three large cake projects. On Friday, I did the assembly of the western cake. I had planned to assemble both the western and the dinosaur cake, but I got a little caked-out and decided it would be ok to push the dinosaur cake assembly to Saturday morning before I left for Clovis. To start the western cake assembly, I made a big batch of
swiss meringue buttercream frosting (it really is the best!).
 |
| yum frosting! |
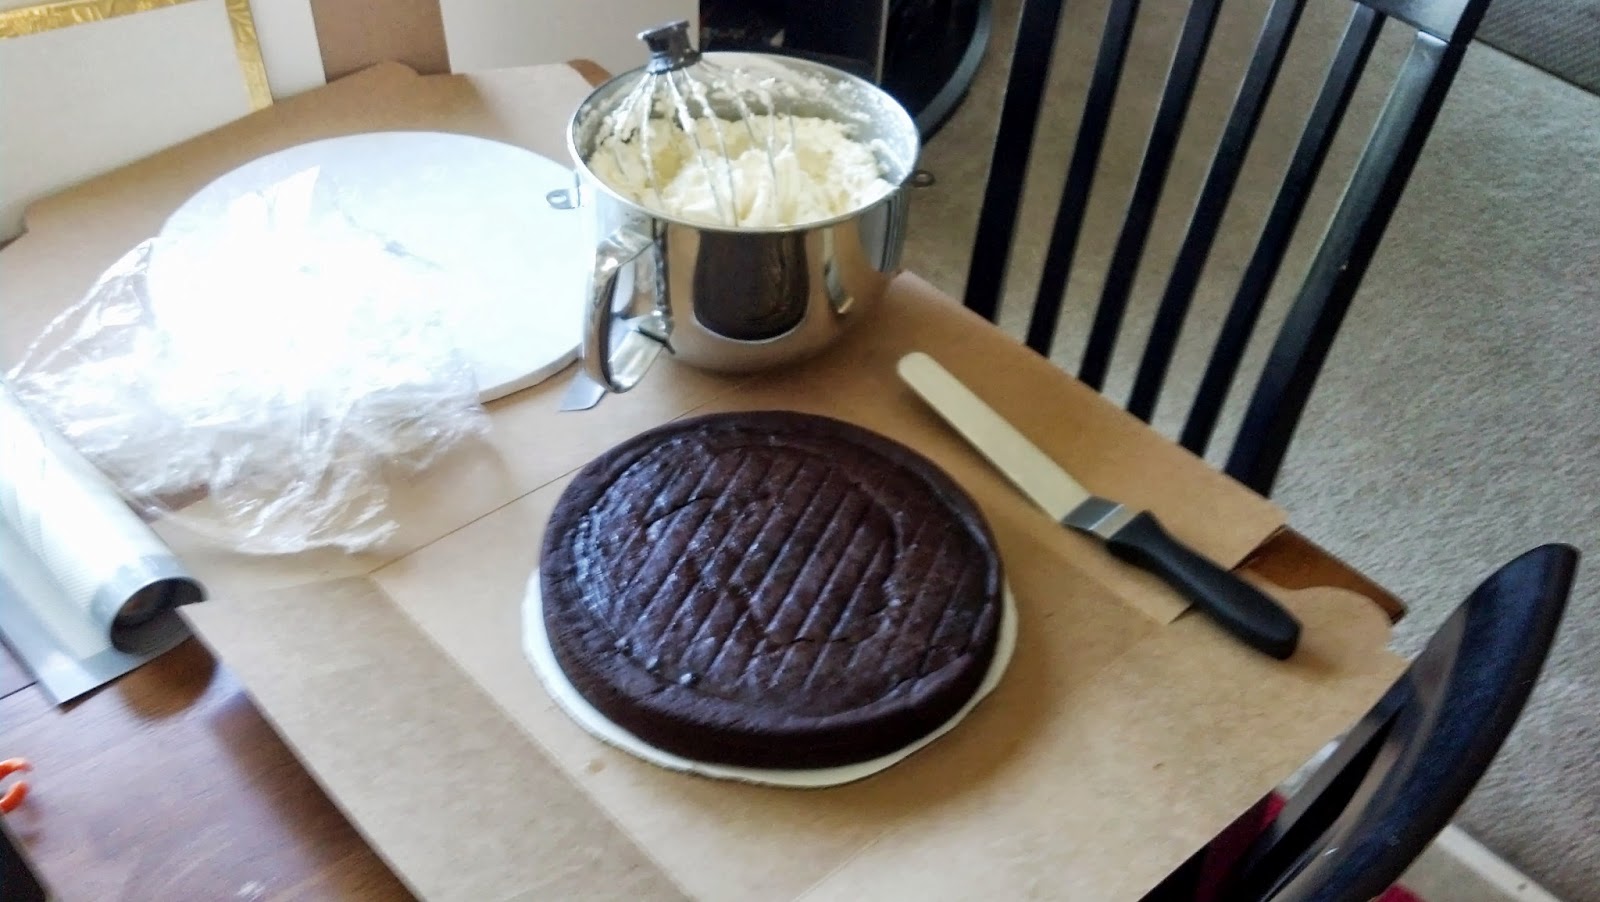
After the frosting was made, I needed to fill the cake. First I took
the cake from the freezer and put it on a cake board, directly into the cake box (since I would be transporting it to Clovis). I find it easiest to work directly in the box, so I don't have to move the cake once it's finished!
 |
| ready for a layer of frosting! |
Once I frosted the top, I put the other frozen layer on top, and gave the whole thing a quick crumb coat (thin coat of icing). The cake was to be covered in fondant, after all, so I didn't need to use a whole lot of icing, or even make it look nice :)
 |
| before frosting the sides |
I didn't take a photo of the cake with it's full coat of frosting, but just imagine that cake above with a thin layer of frosting on the sides. Now we're ready for fondant! On the same day that I baked the cakes, I made a big batch of fondant (first time ever!) using
Annie's recipe. I colored about 40% of it red, and left 60% of it white. I kept it wrapped up in plastic wrap, placed in a ziplock bag for the two weeks until I needed to use it. I love when things can be made ahead of time! Since I started with the bottom layer, I took the white fondant and rolled it out to about 1/8 inch thickness (totally imprecise, as you can see in the photo below, but it worked....mostly).
 |
| fondant rolled and ready for the cake |
I rolled the fondant on my rolling pin, and then unrolled it over the cake. As I've said, this was my first time every working with fondant (I've never even used store bought! I really hate the stuff, but this homemade kind actually tasted ok), so I did a couple of things wrong. First, as you can see below, I definitely did not roll it into a perfect circle. or perhaps large enough. Ideally I would have had a lot hanging over the edges so I could trim it and it would fit perfectly on the cake. I had to do a bit of smoothing magic... Also, I
read a tutorial on how to smooth the fondant down onto the cake, and seriously, that was NOT easy, and it did not work very well.
 |
| pre-smoothing |
I'm going to chalk this up to my lack of experience with fondant, but I had to do some folding and cutting of the fondant to make it lay flat on the cake, so I had several seams. LUCKILY, I had a way to cover up those imperfections... cow spots!
 |
| post-smoothing (and I photographed the 'good' side) |
For the cow spots, I purchased a
pre-made fondant set from Michaels. My experience with coloring frosting for sugar cookies led me away from trying to color my own black fondant (making white frosting a true black is HARD!) Also, this pack of fondant had both black and browns, which I'd need for the rope! So it worked out. I rolled the black fondant out and free-cut a bunch of cow spots. Then I placed them strategically over any rips, seams and wrinkles on the cake!
 |
| cow print strategically covers flaws :) |
The bottom was all finished! Then I had to repeat the process with the top. Unfortunately, I did not have the same kind of opportunity to cover flaws in the fondant with the top, because I wasn't using any spots (or any fondant decor) on the top tier! So I tried REALLY hard to roll the red fondant out in a big nice circle, and made it as flat as I could. There were still several places where I had to rip and cut the fondant to make it lie flat on the side of the cake... I really don't know how to get around that, but I guess it will come with practice (if ever...). But I did strategically pipe the paisley bandana details along cracks to disguise them as best as I could! If people looked really closely at the cake, they could see all of the problems, but most people didn't :)
 |
| top tier ready to go! |
I bought a little sheriff's badge to use on top, and I think it turned out really cute! The layers sat in their cake boxes overnight in my fridge to thaw out, and the following morning I drove the 3 hour trip down to Clovis and blasted the AC in the car so that the cakes would last :) Once I got to the party location, I rolled out the brown fondant from the Michael's multi-pack and created a "rustic" rope to go around the top and bottom of the cake tiers (covering the cake boards). Rustic, because that fondant was actually really hard to roll out nicely, and broke a LOT. But it fit the theme as a rustic western rope :) I also bought a nice cake board to sit the whole thing on, and Ashley's sisters had a really cute table set up with a checkered tablecloth and a bandana for the cake! Here is the final product!
 |
| The final product! |
 |
| Those boots are actually Trevor's from when he was little! |
Overall, I am really happy with the way the cake turned out. Fondant was HARD to work with, but fortunately I could cover up mistakes fairly well (I don't know how professional bakers make their fondant look so smooth and perfect!!) and everyone raved about how good the cake (and fondant!) tasted. People even told me that they are not fans of eating cake, but loved this one. Total success :) Congrats Trevor and Ashley! I can't wait to meet Davin!!
 |
| Parents-to-be! |
Read the rest of the Cake Chronicles Series:
(1) Cake Chronicles
(2) Cake Chronicles pt 2
(3) Cake Chronicles - Intermission
(4) Cake Chronicles pt 3 (you're here!)
(5)
Cake Chronicles pt 4
(6)
Cake Chronicles pt 5 


No comments:
Post a Comment